Section 4 Data Entry: Archaeology
All Virginia site numbers are assigned through VCRIS. You should enter information in VCRIS when you need a new Smithsonian Trinomial site number or if you’ve done any investigation at a previously recorded site.
The workflow between the AH (architecture) and AE (archaeology) sides of VCRIS data entry are slightly different. For archaeology, you’ll receive your final site number(s) when your project is approved. Architectural properties receive numbers after the initial QC (quality control) step is complete.
4.0.1 Creating a project
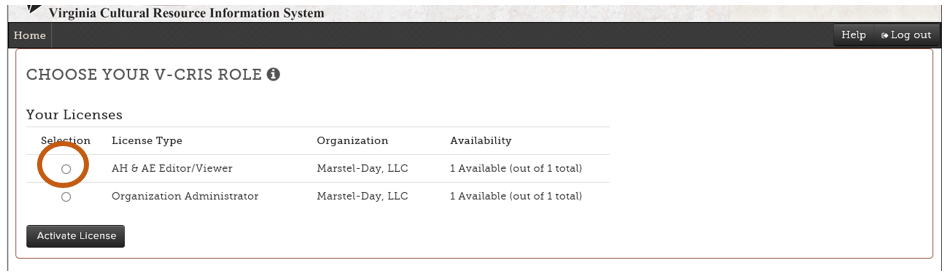
Log into VCRIS as AH & AE Editor/Viewer or Data Entry.
All VCRIS data entry is contained in projects, but the structure of project is up to you. For instance, your VCRIS project might contain all the sites you identified and revisited for a Phase I archaeological survey, or it may be made up of just a selection. Your project may contain one site or it may contain many, but grouping sites together within a project saves time and reduces duplicate data entry.
You can start a new project from your dashboard or from the Archaeology Projects page
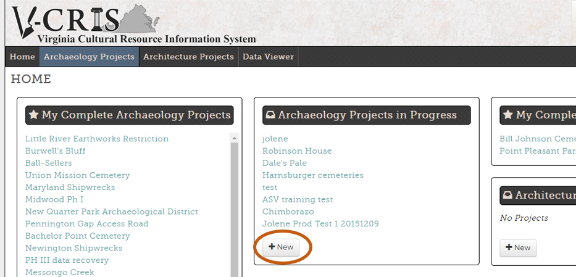
New archaeology project from dashboard
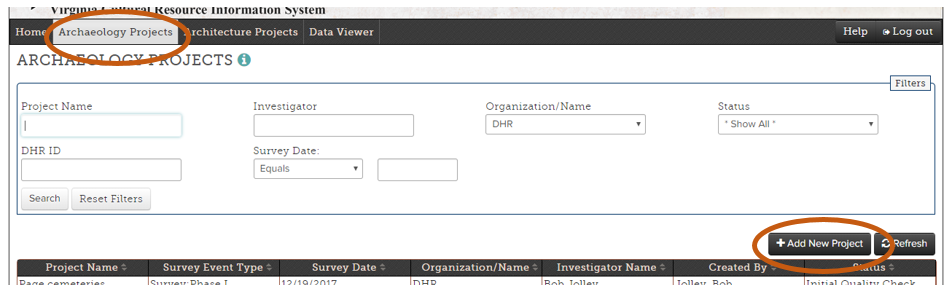
New archaeology project from Archaeology Projects page
4.0.2 Project-level information
Information entered here will be copied to site forms for all sites added to the project.
Fields:
| Field | Required? | Instructions |
|---|---|---|
| Project Name | Yes | Choose any appropriate name. This will not display on the site form, but choosing a distinctive name may help you find your work in the future. |
| Project Review File Number | Format: 1999-1234 If your work is associated with a DHR Review and Compliance project, add the assigned number here. If you don't have a number leave it blank. | |
| Organization / Company | No action necessary. This value auto-populates based on your login. | |
| Photographic Media | This pick-list defaults to "Digital," however you may choose another value if appropriate. | |
| Project Staff / Notes | Optionally list project staff and general notes about the project. | |
| Survey Event Type | Yes | Choose the most applicable type of survey activity from the list. |
| Investigator Name | Yes | This value defaults to the name of the logged in user, but can be edited to the name of the Principal Investigator or other applicable person. |
| Survey Date | Yes | Generally, the beginning date for the archaeological investigation or observation. |
| Survey Description | Yes | Discuss general methodology and observations specific to this investigation. Details should include form of subsurface testing (shovel tests vs. test units), size and depth of units, size of screen mesh, interval spacing, type and status of impact to sites within the project area. |
| Reports | Yes | Choose "Yes" if the work will be written up in any publication or grey literature (CRM report). Choose "No" if the work will not be written up. |
| Report Repository | Yes | If there will be a report or publication, where will copies be available for research? |
| Report Information | Yes | If there will be a report or publication, what is its citation information? Format is not important. Draft titles are fine. Please do not only type "in progress" without further details. |
After the project name field is completed, you can click Save at any time, after which you will see some additional tabs and buttons:
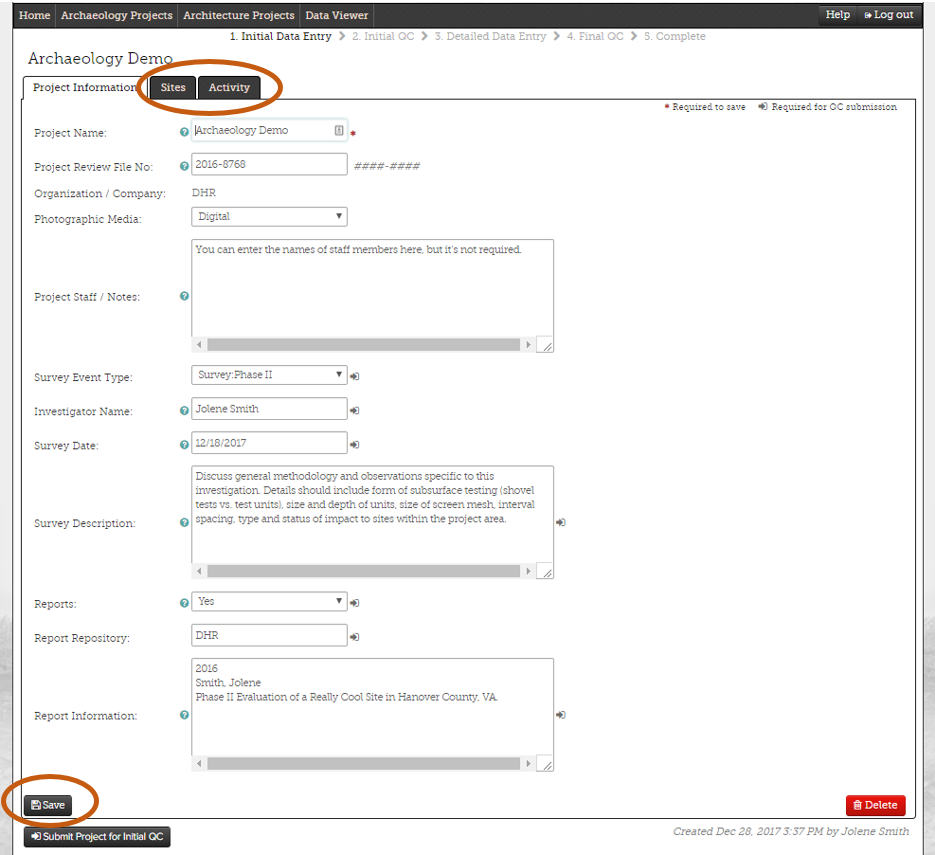
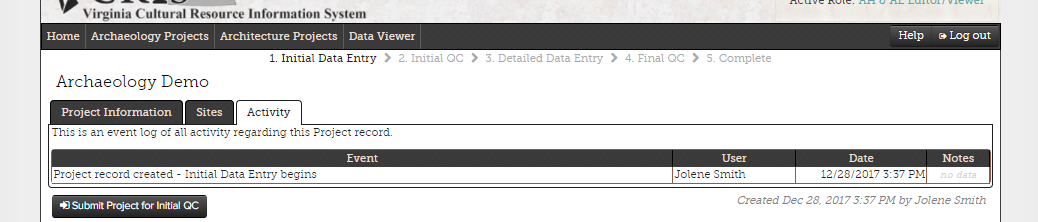
The Sites tab allows you to add new or existing archaeological sites (see more below). The Activity tab is a record of the project’s path through the Quality Control process.
4.0.3 Adding new sites
To add one or more new, unrecorded sites to DHR’s inventory, go to the Sites tab and click the Add New Site button.
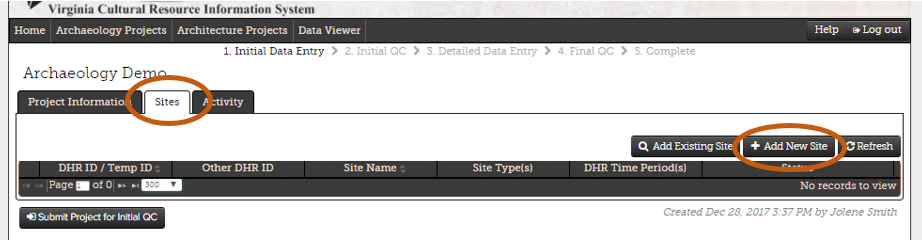
You’ll find yourself on a new screen, the Location Information (or Initial Data Entry) tab for this site.
Location Fields
| Field | Required? | Instructions |
|---|---|---|
| DHR ID | N/A | Assigned by DHR staff at the end of the process |
| Temporary Designation | Yes | By default, the system assigns an arbitrary temporary designation (Site 1, Site 2, and so forth). You can leave this as-is, but it is always a good idea to change this entry to the temporary designation you may be using on any field paperwork. |
| Site Name | No | If this site has a name meaningful outside your organization's internal tracking numbers, enter it here. |
| Slope | No | Optionally choose an appropriate slope grade range. |
| Elevation | No | Optionally enter a numerical elevation in feet. |
| USGS Quad | N/A | Auto-calculated from VCRIS GIS |
| County/Independent City | N/A | Auto-calculated from VCRIS GIS |
| Physiographic Provinces | N/A | Auto-calculated from VCRIS GIS |
| Incorporated Town | N/A | Auto-calculated from VCRIS GIS |
| Drainage | N/A | Auto-calculated from VCRIS GIS |
| Aspect | No | Optionally select the direction the site is facing on a slope. |
| Acreage | N/A | Auto-calculated from VCRIS GIS |
4.0.3.1 Mapping your site
All sites are mapped directly within VCRIS. To map your site, click the Map It button. This will open the Map Editor.

You can digitize by drawing your site on the map or by uploading a .zip archive containing the components of a GIS shapefile.
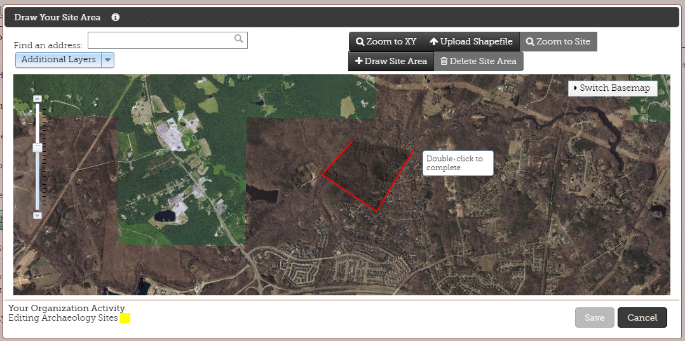
4.0.3.1.1 To draw a site on the map:
The map editor opens to an aerial photograph showing all of Virginia. You can zoom to the correct location by entering coordinates in the Zoom to XY tool, entering an address in the search box, or manually panning and zooming to the desired location. You can also change the basemap to a topographic map, street map, or other options.
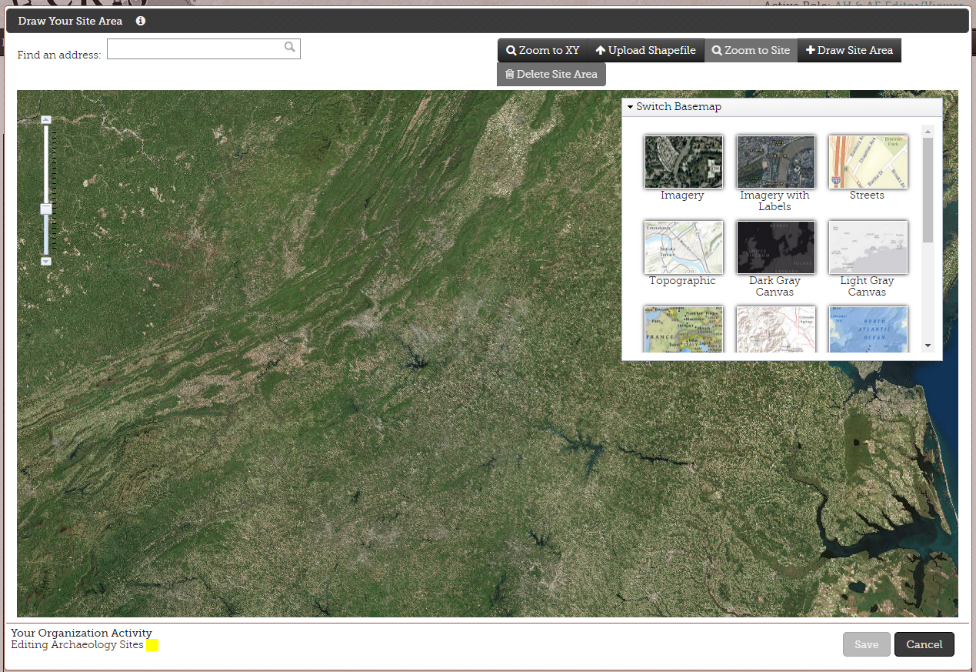
Click the Draw Site Area button. Each click on the map will create a new vertex. Various web browsers behave differently when digitizing new shapes in the map editor. For example, in Chrome or Firefox, you will see the line you’re drawing as you drag, whereas in Internet Explorer you will not see the line until you click. In all browsers, double clicking anywhere will complete your shape automatically. You do not have to click on your starting point.
To refine your shape, click Edit Site Area to add more vertices or adjust those existing. When you’re satisfied, click Save.
The VCRIS GIS will auto-calculate several fields in the background, saving you time and effort.

A note on mapping and accuracy
DHR defaults the map editor basemap to the VGIN (Virginia Geographic Information Network) aerials. Many people prefer to work with topographic maps, however the aerial photography layers are more accurate. Learn more
4.0.3.1.2 To upload a GIS shapefile:
Export the component files of an ESRI shapefile to a .zip folder.
Requirements:
One layer with one feature
The geometry type must be polygon
A polygon must have no holes or be self-intersecting
The uploaded ZIP file must contain a Shapefile (.shp) and its > associated projection (.prj)
The feature cannot contain Z values
Click on Upload Shapefile and choose your file. Click Upload. Verify that your shape displays correctly and then save.

If you use the open source QGIS application instead of ESRI geospatial tools, remove files with .cpg and .qpg extensions fro your zip file.
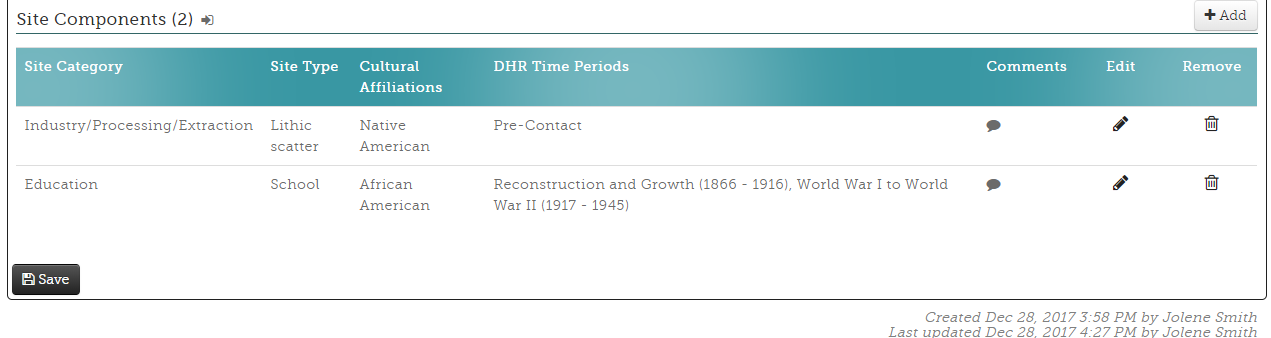
4.0.3.2 Component Information
Site components describe functions, activities, and site types in the past, along with temporally descriptive information. You may need to add more than one component in order to accurately represent activity and material culture at a single site. Do not combine multiple components into a single entry.
Click Add to open up the component information.
Begin with the Site Category. This choice will change options within Site Type.
Check the applicable Cultural Affiliation(s). If your survey has not been undertaken at a level enabling this determination, check “Indeterminate.”
Add Cultural Affiliation Details if desired. Things like tribe name (if known), specific immigrant community, or other information helpful to refining or clarifying the Cultural Affiliation selection should be entered here.
Check the range of time periods that could apply. For non-diagnostic pre-Colonial sites, “Pre-Contact” is the broad term to select.
If you have a tighter start or end year, feel free to enter them.
The Comments field can hold a lot of descriptive information about each component, but it’s not required.
Click Save and add another component if necessary.
Once you are satisfied with your location information, mapping, and component information, click Save at the bottom of the screen.
Then, scroll back to the top and click on the name of your project to continue adding sites or to submit for Initial QC.

4.0.4 Adding existing sites
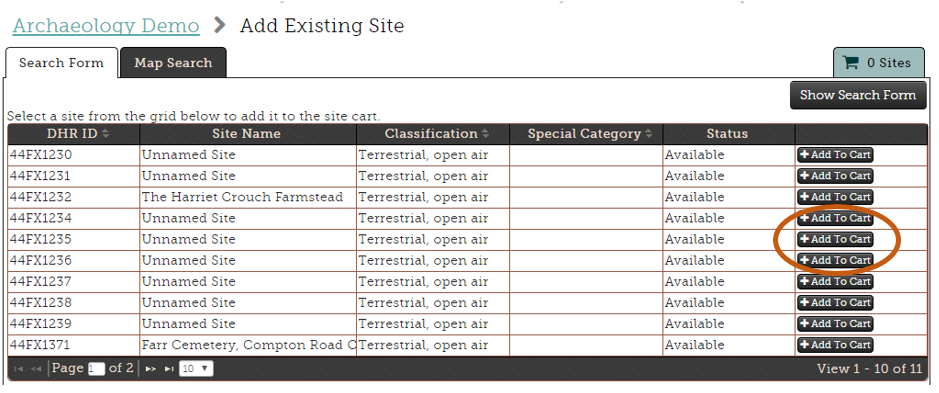
If you have revisited a site that’s already been recorded with a DHR site number (even if you failed to locate it in your recent survey), you can add it to your project to update its record. Go to the Sites tab and click Add Existing Site.
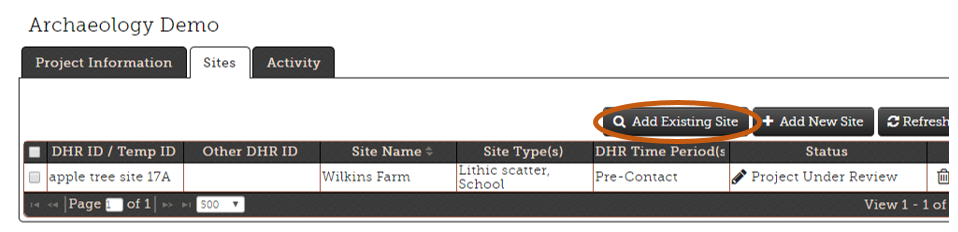
You can search by DHR ID or many other attributes. Click on Add to Cart for the sites you need. You can search in multiple ways to continue adding to your cart.
When you’re satisfied, click the cart icon
 and
then Request Sites.
and
then Request Sites.
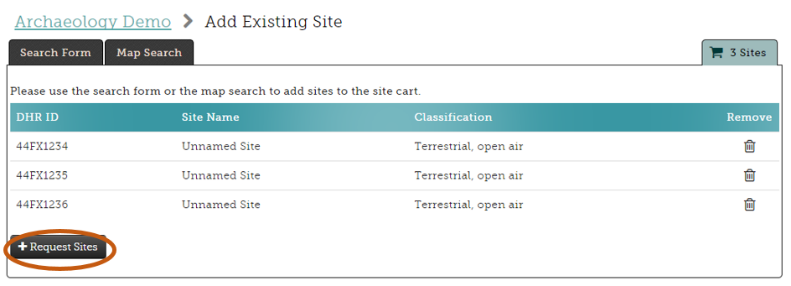
The Archaeology Data Manager will release them into your project as soon as possible.
When the sites have been added to your project, update mapping and component information to reflect your own survey work or to correct any documented errors. Please explain significant changes in available open text fields so future researchers can understand the evolution of the record.
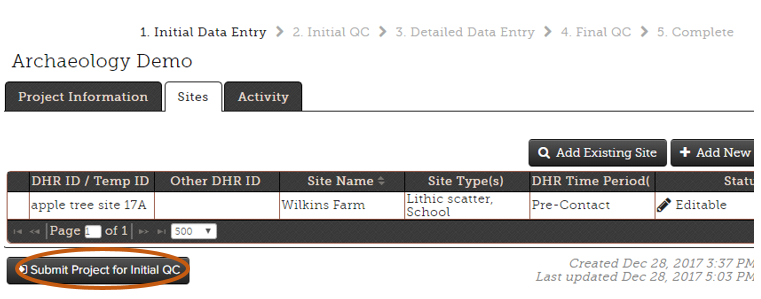
4.0.5 Submission for Initial QC
After you’ve added all new and existing sites you’d like to be associated with your VCRIS project, return to the project information tabs by clicking on its name. Click Submit Project for Initial QC (located below the rest of the information on each tab.
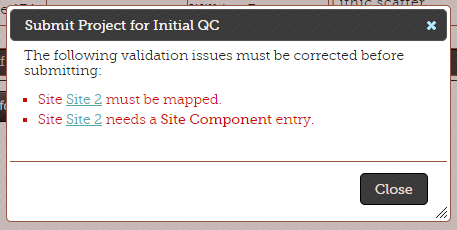
If you’ve missed any required fields, the system will provide you with specific information and links to the records so you can fill in what’s needed.
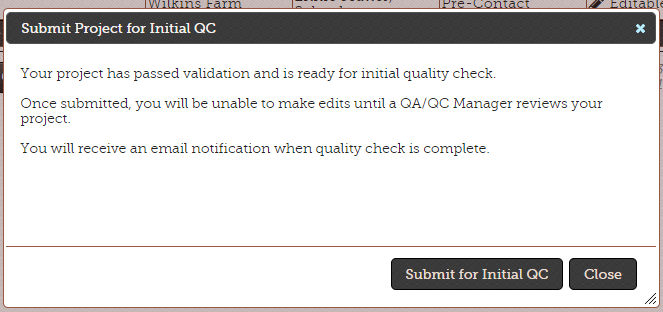
If you haven’t missed anything, proceed to submit for Initial QC.
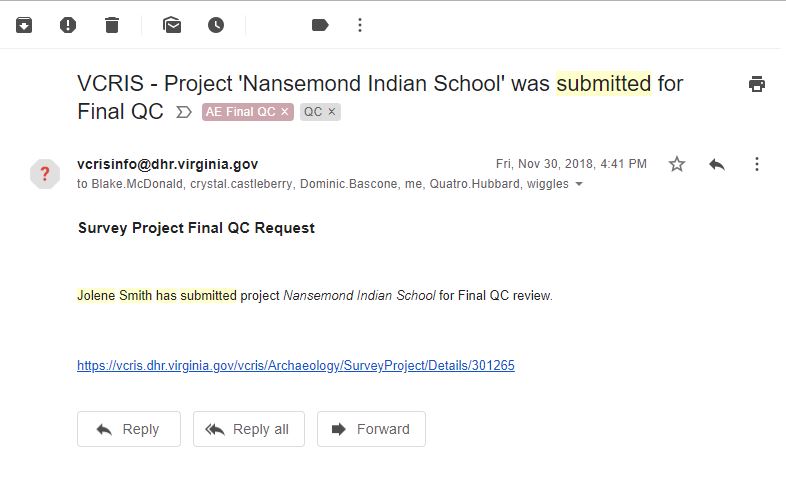
You will briefly see a blue bar at the top of the screen indicating that the project was successfully submitted for QC. You should also receive an email at each step of the way with a URL back to your project. When the DHR
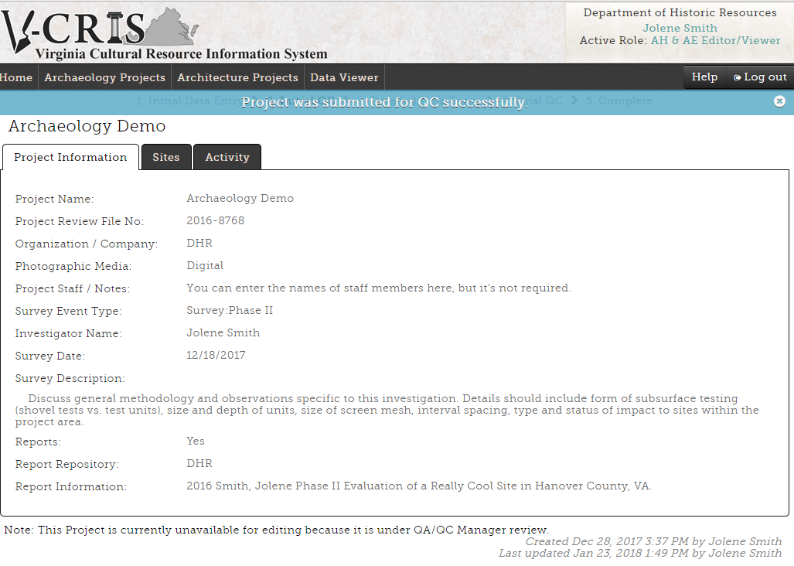
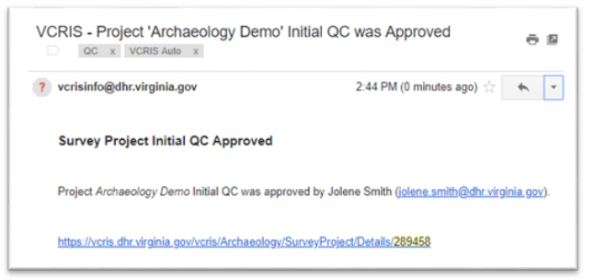
Once your project is quality controlled (initial QC) by DHR staff, you’ll receive an email. You can then click on the link or navigate to VCRIS to go back into the project and complete detailed data entry.
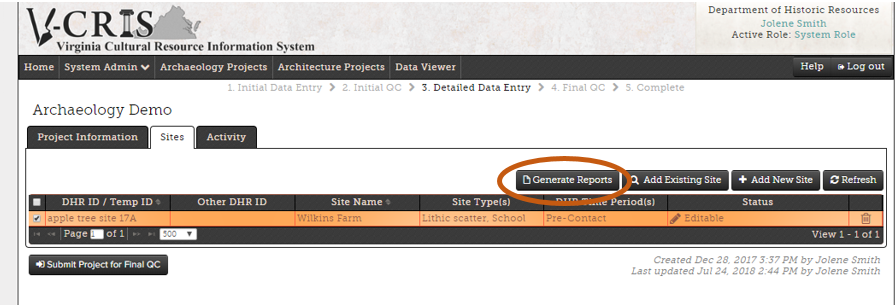
4.0.6 Draft Reports
After Initial QC is approved, you can print Draft Reports for all sites in your project at any time. This can be helpful to coordinate between multiple parties before the records are complete.
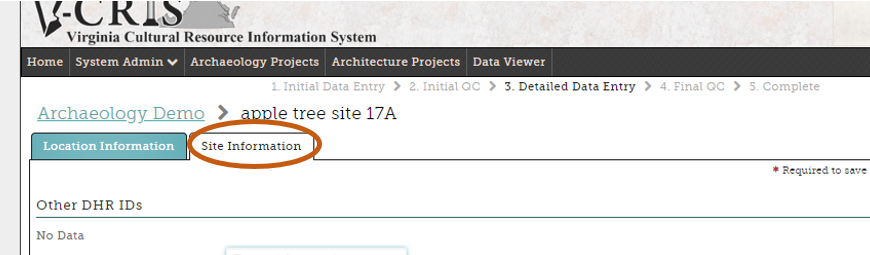
4.0.7 Detailed Data Entry
Within each site in your project, you’ll see a new tab called Site Information.
Detailed Data Entry Fields:
| Field | Required? | Instructions |
|---|---|---|
| Other DHR IDs | No | Cross-reference to associated architectural or archaeological records. |
| Site Class | Yes | Defaults to Terrestrial, options for submerged and cave/rockshelter. |
| Special Category | N/A | DHR staff use only. |
| Other Event | No | Site Not Relocated should be selected if survey failed to re-identify a documented site. |
| Landforms | Yes | Pick-list. Choose all applicable. |
| Site Conditions | Yes | Pick-list. Choose all applicable. |
| Survey Strategies | Yes | Check the box(es) next to all applicable. |
| Ownership Information | Yes | Private ownership does not prompt a pick-list choice. |
| Land Use Information | Yes | Describe current land use, not archaeological/historical use. |
| Threats to Site | Yes | Check the box(es) next to all applicable. |
| Artifacts/Specimens Collected | Yes | Yes/No |
| Artifacts Summary and Diagnostics: | Yes* | Required if material collected. Large open text field. Summarize artifacts and diagnostics or paste in a full catalog. |
| Artifacts/Specimens: Observed, Not Collected | Yes | Yes/No |
| Artifacts Summary and Diagnostics: | Yes* | Required if material collected. Large open text field. Summarize artifacts and diagnostics or paste in a full catalog. |
| Current Curation Repositories | Yes* | Required if material collected. Location of materials at the time of data entry. |
| Permanent Curation Repositories | Yes* | Required if material collected. Intended permanent curation location. |
| Field Notes Repositories | No | If nothing entered, Field Notes Generated: No will display. |
| Bibliographic Information | No | Enter any information for key historical research regarding this site, NOT your survey report citation. |
| Informant Data: | No | Describe any informant-gathered information or oral history regarding this site. May be anonymous. |
| Surveyor Assessment | No* | Required for Project Review. General overview of the site. Serves a Significance Statement. |
| Surveyor Eligibility Recommendation: | No* | Required for Project Review. Choose from list. |
4.0.8 Approval
Upon DHR review and final QC, you’ll receive an email with permanent site numbers (Smithsonian Trinomials). You can print completed records from your project or from the VCRIS data viewer.
4.0.9 Revisions
If you have corrections or additions to any information already entered into VCRIS as a project, contact VCRIS staff. Send corrections via email or in PDF comments. GIS shapes can also be updated.
4.0.10 Other Considerations
Users with Data Entry licenses can only access projects they personally created. Users with AH or AH & AE Editor/Viewer licenses can access all projects within their organization for data entry.
You can start a project and keep it open for as long as you need.
Don’t be afraid to edit existing information. If you inadvertently delete information, let DHR staff know and we can easily recover it. Your edits are always editing on a copy of the record and cannot “break” anything.
If your survey has changed a site boundary, please update the site polygon accordingly.
4.1 Phase I Archaeology Survey Areas
Beginning in 2019, Cultural Resources Management professionals completing data entry for Phase I archaeological projects will be required to submit GIS shapefiles representing the Phase I survey area via email prior to final QC approval.
The polygon should represent the entirety of the CRM project. Normally this would be the Area of Potential Effects for archaeology. It should not be purely limited to the area physically surveyed and should include areas evaluated as “low probability.”
Phase I GIS data can’t currently be submitted directly through VCRIS. See instructions below to submit.
4.1.1 With a GIS application
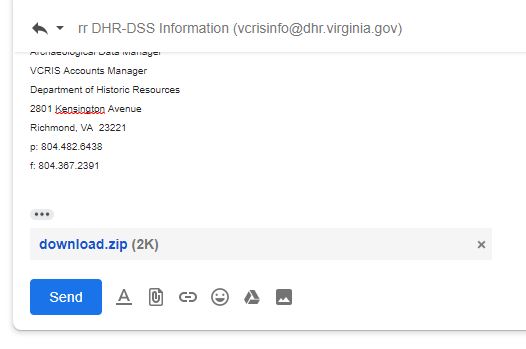
Reply to any one of the VCRIS QC emails for your project, attaching the geospatial data. If your archaeological survey is related to more than one VCRIS project, you don’t need to email the same data repeatedly. Indicate details in the VCRIS email.
4.1.2 Without a GIS application
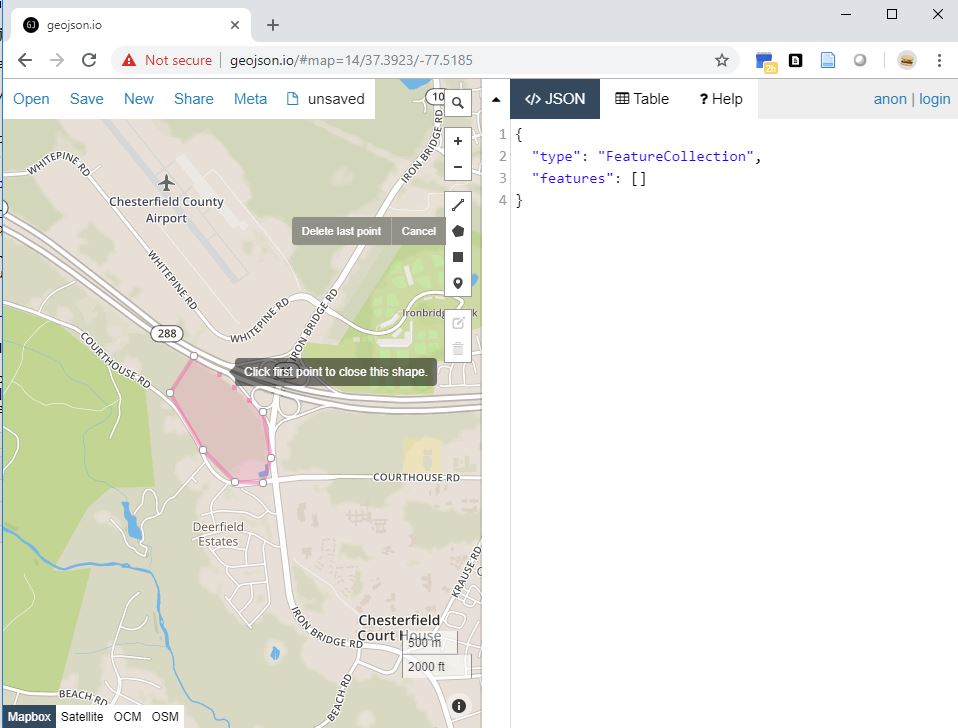
Go to geojson.io
Zoom to the desired area
Click the “draw polygon” button
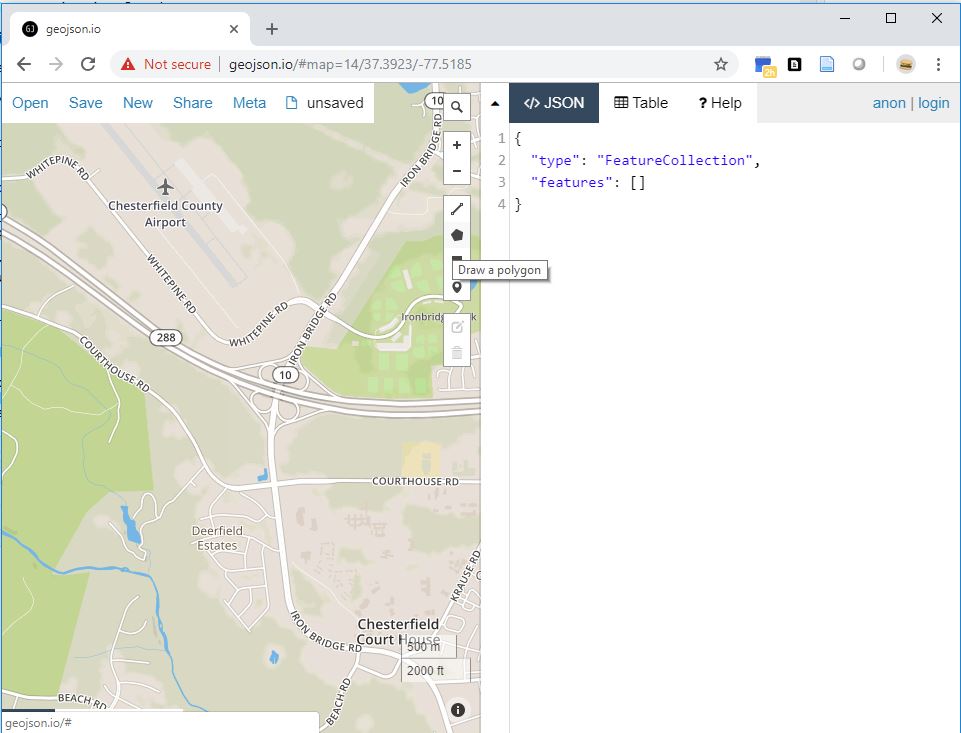
Create your feature
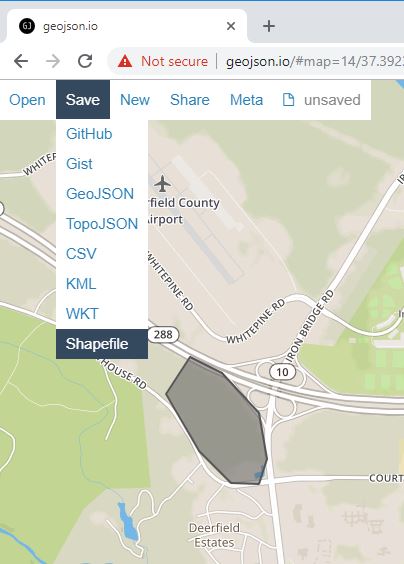
Hover over Save (don’t click) and then click on Shapefile at the bottom of the list
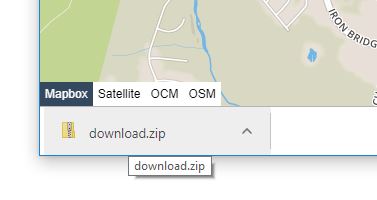
- Attach the resulting zip file to an email reply to one of the VCRIS system emails related to your project. We’ll take care of the rest.